设置root账户的密码
sudo passwd root
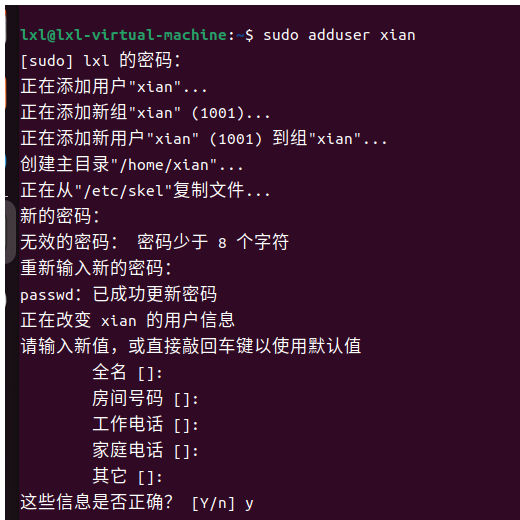
新添加用户
sudo adduser {username}
设置管理员权限
sudo usermod -aG sudo {username}

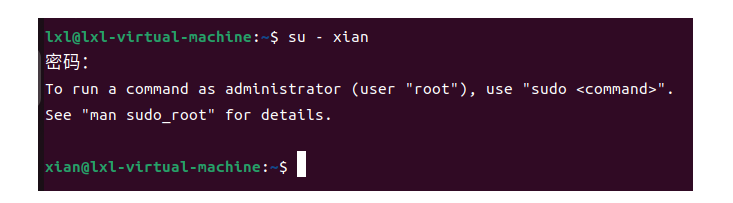
切换到用户
su - {username}
修改Ubuntu的安装源
1、备份
sudo cp /etc/apt/sources.list /etc/apt/sources.list.bak

2、修改
sudo apt install -y nano
sudo nano /etc/apt/sources.list
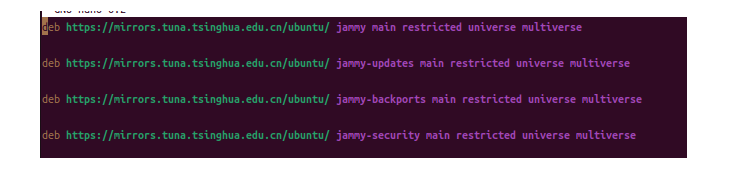
将源数据全部删除,下面的复制到文件里
deb https://mirrors.tuna.tsinghua.edu.cn/ubuntu/ jammy main restricted universe multiverse
deb https://mirrors.tuna.tsinghua.edu.cn/ubuntu/ jammy-updates main restricted universe multiverse
deb https://mirrors.tuna.tsinghua.edu.cn/ubuntu/ jammy-backports main restricted universe multiverse
deb https://mirrors.tuna.tsinghua.edu.cn/ubuntu/ jammy-security main restricted universe multiverse
更新apt缓存
sudo apt update
下载curl
sudo apt install curl

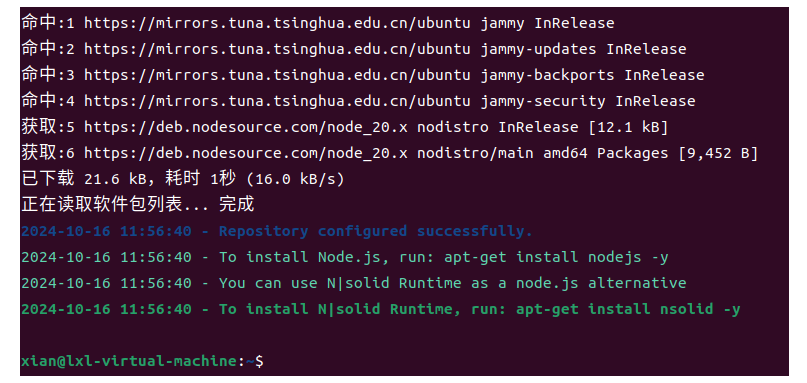
添加下载Nodejs脚本
curl -sL https://deb.nodesource.com/setup_20.x | sudo -E bash -
下载所需依赖
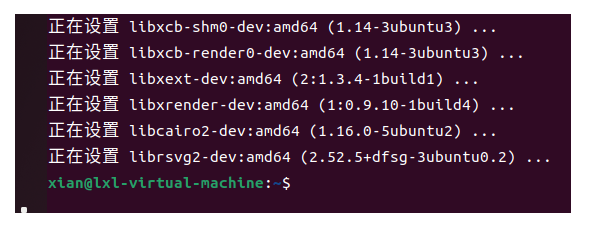
sudo apt install -y python3-dev python3-setuptools python3-pip python3-distutils python3.10-venv software-properties-common mariadb-server mariadb-client redis-server nodejs xvfb libfontconfig libmysqlclient-dev nginx cron fail2ban supervisor git nano ansible pkg-config libcairo2-dev libjpeg-dev libgif-dev librsvg2-dev
将Python的pip源改成国内源,有助于后面安装frappe时提高速度和成功率。
阿里源
sudo -H pip config set global.index-url https://pypi.tuna.tsinghua.edu.cn/simple/ sudo -H pip config set install.trusted-host mirrors.aliyun.com
清华源
sudo -H pip config set global.index-url https://pypi.tuna.tsinghua.edu.cn/simple/
sudo -H pip config set global.trusted-host pypi.tuna.tsinghua.edu.cn

安装wkhtmltopdf
方法一
sudo apt-get install xvfb libfontconfig wkhtmltopdf
方法二
wget https://gitee.com/qinyanwan/erpnext/releases/download/v13.29.0/wkhtmltox_0.12.6.1-2.jammy_amd64.deb
sudo dpkg -i wkhtmltox_0.12.6.1-2.jammy_amd64.deb
如果安装提示有缺少依赖的错误,执行下面命令修复。
sudo apt -f install -y
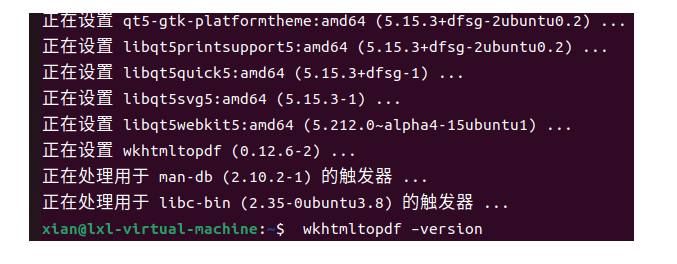
检查wkhtmltopdf版本
wkhtmltopdf –version
显示wkhtmltopdf 0.12.6.1 (with patched qt)即是正确版本
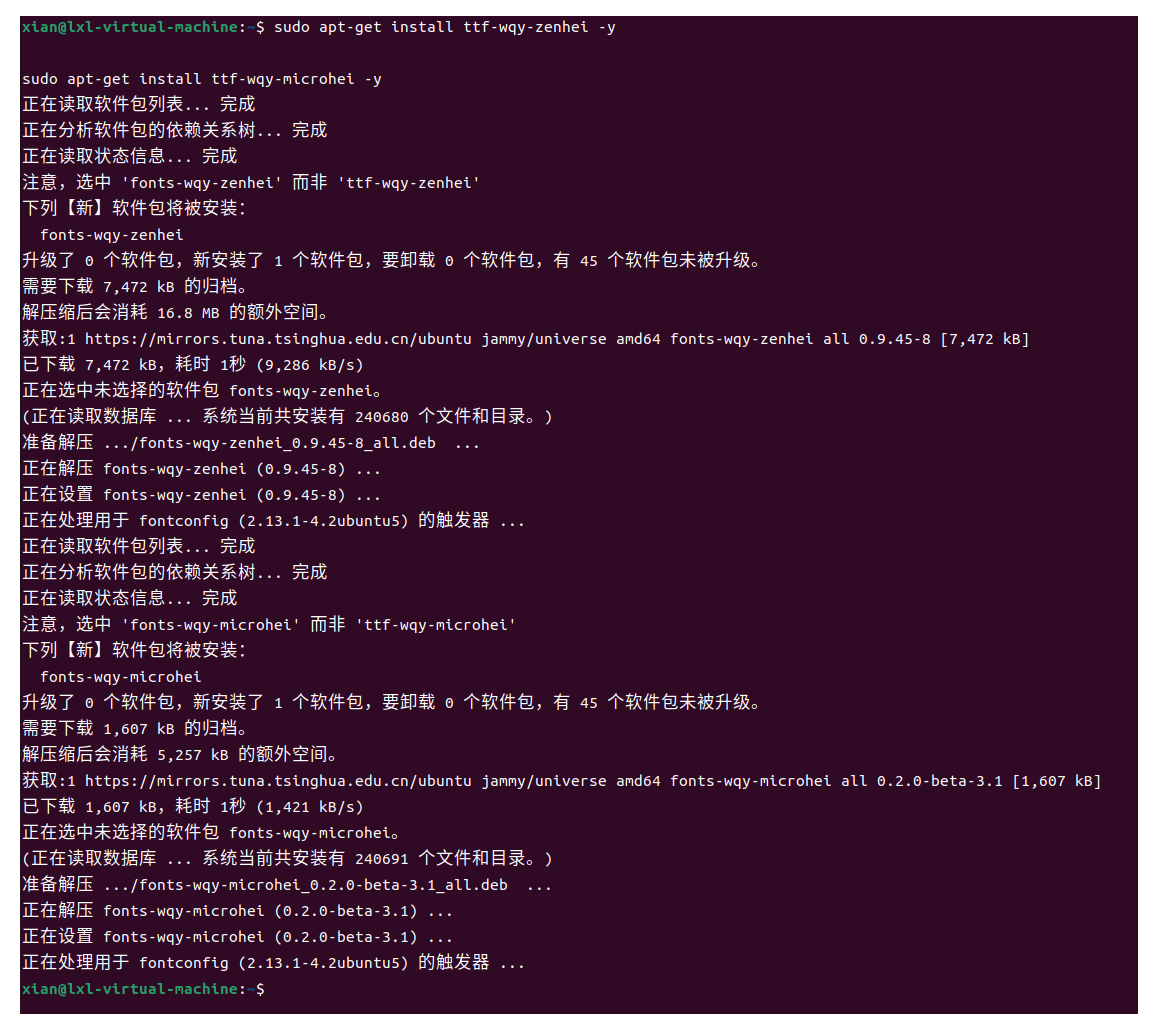
安装字体
sudo apt-get install ttf-wqy-zenhei -y
sudo apt-get install ttf-wqy-microhei -y
先修改npm源,再下载yarn
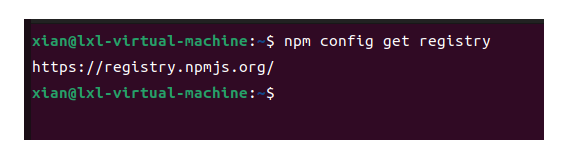
查询源
npm config get registry
npm更换国内源
淘宝源
npm config set registry https://registry.npm.taobao.org
清华源
npm config set registry https://mirrors.tuna.tsinghua.edu.cn/npm/

暂时不需要换回官方源,如果需要就执行以下命令
恢复官方源
npm config set registry https://registry.npmjs.org
删除注册表
npm config delete registry
安装yarn
sudo npm install -g yarn -y
查询源
yarn config get registry
更换国内源
淘宝源
yarn config set registry https://registry.npm.taobao.org/
清华源
yarn config set registry https://mirrors.tuna.tsinghua.edu.cn/npm/
暂时不需要换回官方源,如果需要就执行以下命令
恢复官方源
yarn config set registry https://registry.yarnpkg.com
删除注册表
yarn config delete registry
设置yarn更换源时如果遇到没有缓存文件警告
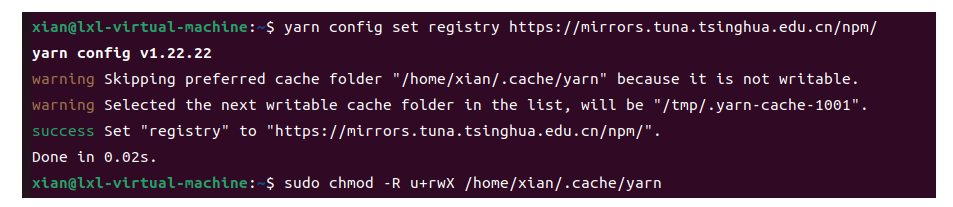
创建缓存文件
sudo mkdir -p /home/{username}/.cache/yarn

更改文件权限
sudo chmod -R u+rwX /home/{username}/.cache/yarn

验证权限更改
sudo ls -ld /home/xian/.cache/yarn

查看版本
node -v && npm -v && python3 -V && pip3 -V && yarn -v
创建 MariaDB 超级管理员用户【可选】
打开 MariaDB 提示符:
sudo mysql
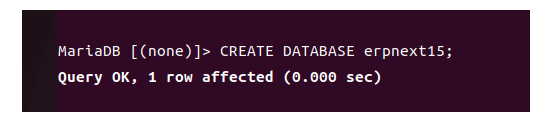
现在创建一个以您要为 MariaDB 连接分配的用户命名的新数据库。
CREATE DATABASE {dbname};
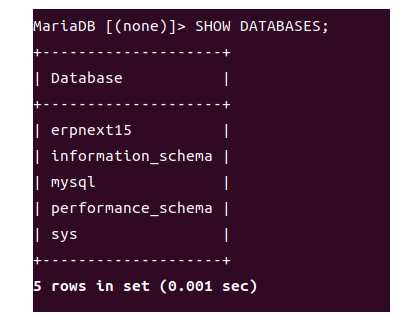
确认数据库是使用以下 SQL 语句创建的:
SHOW DATABASES;
现在创建frappe具有类似于root 的权限的 MariaDB 用户,然后为该用户提供您选择的强密码。将密码保存在安全的地方;稍后您将需要它:
#mariadb_password是你要替换的实际密码 GRANT ALL PRIVILEGES ON . TO '{dbname}'@'%' IDENTIFIED BY '{mariadb_password}' WITH GRANT OPTION;

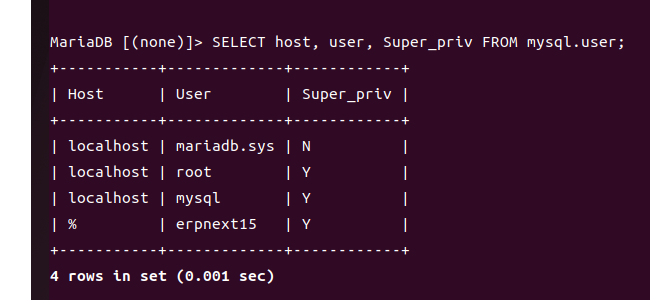
现在确认用户创建和新用户的权限:
SELECT host, user, Super_priv FROM mysql.user;
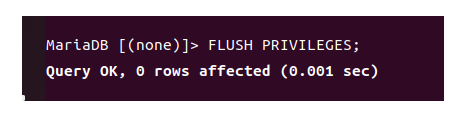
现在刷新权限以应用所有更改:
FLUSH PRIVILEGES;
完成后,退出会话:
exit;
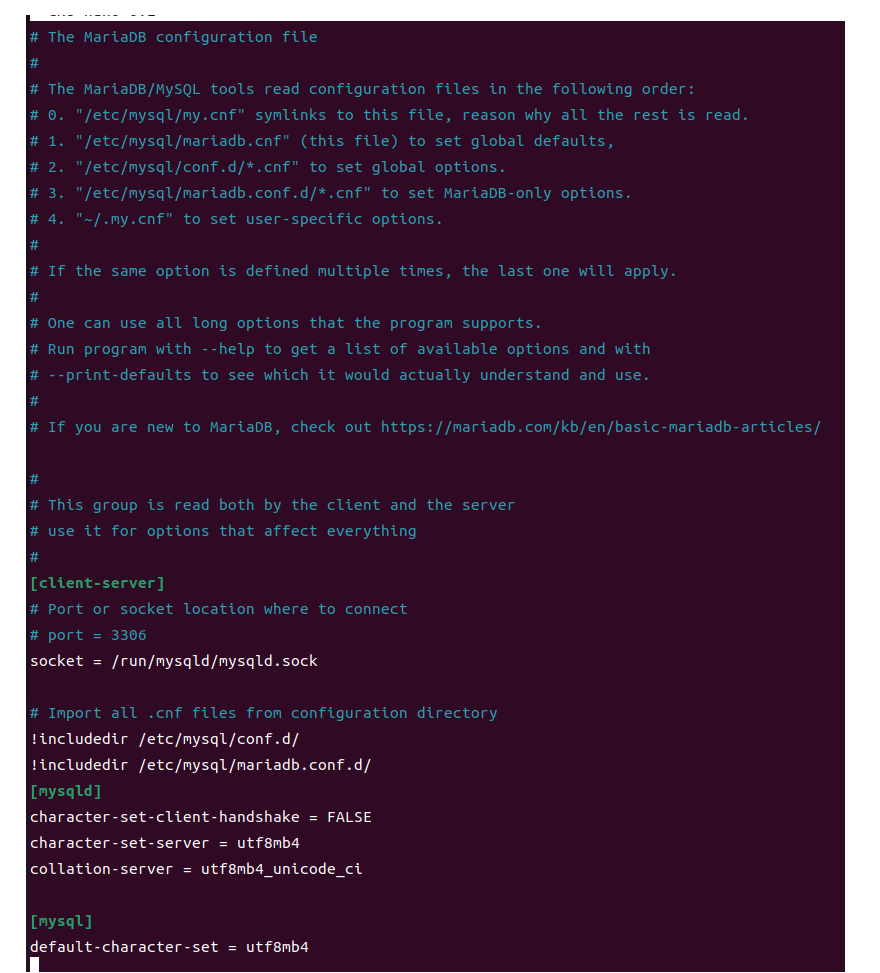
配置MariaDB
sudo nano /etc/mysql/my.cnf
将下面配置粘贴到文件里
[mysqld] character-set-client-handshake = FALSE character-set-server = utf8mb4 collation-server = utf8mb4_unicode_ci
[mysql] default-character-set = utf8mb4
重启sql
sudo service mysql restart
mysql安全配置
sudo mysql_secure_installation
第一个输入数据库密码对话框出来的时候,直接敲回车代表没有密码,剩下的按照下面选择:
Enter current password for root (enter for none): # 输入root(mysql)的密码,初次安装默认没有,直接回车 ...
Switch to unix_socket authentication [Y/n] n # 是否切换到unix套接字身份验证[Y/n] ...
Change the root password? [Y/n] y #是否设置root用户密码
New password: # 新密码
Re-enter new password: # 再次输入密码 ...
Remove anonymous users? [Y/n] y # 是否删除匿名用户,建议删除 ...
Disallow root login remotely? [Y/n] n # 是否禁止root远程登录,建议不开启 ...
Remove test database and access to it? [Y/n] n # 是否删除test数据库,可以保留 ...
Reload privilege tables now? [Y/n] y # 是否重新加载权限表,也可以直接回车 ...
Thanks for using MariaDB! # 看到这句话证明设置成功
安装Bench(erpnext系统的命令行管理工具)
使用pip安装
sudo -H pip3 install frappe-bench
使用bench下载frappe框架
bench init --frappe-branch version-15 frappe-bench --frappe-path=https://gitee.com/mirrors/frappe --verbose
如果安装失败就多安装几次,会受到网速影响导致安装失败
检查版本
bench --version
将安装的系统用户分配一下执行权限。
sudo chmod -R o+rx /home/{username}/
你需要将 {username}替换为具体的用户名。
进入bench目录
cd frappe-bench
新建站点,下面是以erpnext作为站点名称。
bench new-site erpnext
停止当前Bench服务
bench stop
设置默认站点
bench use erpnext
启动bench服务
bench start
此时Frappe已经搭建完成,可以进入网站浏览无app的网站,用户名默认为administrator
下载app和安装app bench get-app --branch version-15 {站点名称} https://gitee.com/mirrors/erpnext
bench get-app --branch version-15 {站点名称} https://gitee.com/goodmanx/erpnext_chinese
bench get-app --branch version-15 {站点名称} https://gitee.com/yuzelin/erpnext_oob
bench get-app --branch version-15 {站点名称} https://gitee.com/qinyanwan/payments
bench --site {站点名称} install-app erpnext
bench --site {站点名称} install-app erpnext_chinese
bench --site {站点名称} install-app erpnext_oob
bench --site {站点名称} install-app payments

安装ERPNext15开发环境